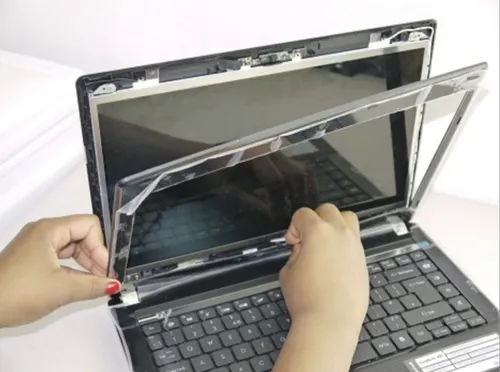
Clean Your Sticky Laptop Keyboard
If your laptop’s keyboard is anything like mine, it’s probably covered in dust, crumbs, and who knows what else. Even if you don’t have children or pets, keyboards can get pretty gross. But beyond the ick factor, there are actually some real consequences to having a dirty keyboard. For one, it can lead to ghosting, which is when certain keys stop working because they’re constantly being pressed down by dirt and grime. Another issue is that all that dirt and gunk can actually interfere with the electrical current flowing through your keyboard, which can lead to malfunctioning keys. So if you want to keep your keyboard functioning properly and avoid any embarrassing typos, it’s important to clean it on a regular basis. Luckily, it’s not too difficult to do. In this blog post, we’ll show you how to clean your sticky laptop keyboard in just a few simple steps.
Supplies needed to clean your keyboard
To clean your keyboard, you will need:
-A can of compressed air
-A soft cloth
-A slightly dampened cloth
-A cotton swab
Begin by unplugging your keyboard from your computer. Then, use the can of compressed air to blow away any loose dirt and dust from between the keys. Next, take the soft cloth and lightly wipe down each key. If there are any tough spots or stains, use the slightly dampened cloth to gently scrub them. Finally, use the cotton swab to clean any hard-to-reach areas. Once you’re finished, let the keyboard air dry for a few minutes before plugging it back in and using it as normal. You can also get help from a computer repairs service if you are having trouble with the process.
The best way to clean your keyboard
There are a few different ways that you can clean your keyboard, but some methods are better than others. Here is a step-by-step guide on how to clean your keyboard the best way:
1. Unplug your keyboard from your computer.
2. Use a can of compressed air to blow away any dust or debris that is on the keys or in between the keys.
3. Use a cotton swab dipped in alcohol to lightly scrub the keys and in between the keys.
4. Use a damp cloth to wipe down the rest of the keyboard surface.
5. Allow the keyboard to dry completely before plugging it back into your computer.
What to do if your keyboard is still sticky
If your keyboard is still sticky after cleaning it with soap and water, you can try using a vinegar solution. Mix equal parts vinegar and water in a bowl and dampen a cloth with the mixture. Gently wipe down the keys with the cloth until they are no longer sticky. If the keys are still sticky, you can try using a toothpick to clean out any dirt or debris that may be stuck in the keycaps.
Also Read: 5 best gaming laptops with good graphic card
How to prevent your keyboard from getting sticky
If you want to prevent your keyboard from getting sticky in the first place, here are a few tips:
-Wipe down your keyboard with a damp cloth regularly. This will help to keep any dirt or dust from accumulating and making the keys sticky.
-Avoid eating over your keyboard. Even if you’re careful, crumbs can fall between the keys and cause stickiness.
-Don’t spill anything on your keyboard. If something does happen to spill, clean it up immediately to prevent sticking.
If your keyboard is already sticky, there are a few things you can do to clean it:
-Use a vacuum cleaner with the brush attachment to remove any crumbs or dirt from between the keys.
-Dip a cotton swab in rubbing alcohol and gently wipe each key to remove any grease or grime. Let the keys air dry before using the keyboard again.
Conclusion
We hope this guide was helpful in teaching you how to clean your sticky laptop keyboard. As long as you follow the steps carefully, you should have no problem getting rid of all the gunk and grime that’s built up on your keys. If you’re still having trouble, feel free to reach out to a professional for help. In the meantime, be sure to avoid eating over your keyboard and keep it clean so that it lasts for years to come!
